Crab Sketch Tutorial: Easy Step-by-Step Guide
A crab sketch tutorial is a step-by-step guide to drawing a realistic or cartoon-style crab. Start by outlining the basic shape of the crab's body and claws. Add details like its segmented legs, large pincers, and curved shell. Focus on creating texture for the shell using shading and lines, ensuring the claws look proportionate and dynamic. Experiment with positioning, giving the crab a natural or playful pose. Finally, refine the drawing with additional details such as the eyes and the smaller features that make the crab come to life. This tutorial is great for beginners and seasoned artists alike!

Crab Sketch Tutorial
Creating a crab sketch can be an enjoyable and rewarding experience. Whether you're a beginner or an experienced artist, this step-by-step guide will walk you through the process of drawing a simple and accurate crab. Follow along with these basic techniques to capture the essence of this unique marine creature.
Materials You’ll Need
- Pencil (preferably an HB or 2B for sketching)
- Eraser
- Paper (preferably sketching paper)
- Colored pencils or markers (optional, for adding color)

Step 1: Draw the Body Shape
Start by drawing the crab’s central body, known as the carapace. This part is generally rounded or slightly oval, depending on the type of crab you're drawing.
- Draw a horizontal oval shape with a slightly flattened top, creating the central body. It doesn’t need to be perfectly symmetrical, as crabs have a more natural, uneven body shape.
- Add a light guideline in the center of the oval to help position the legs and eyes symmetrically.
Step 2: Draw the Eyes
Next, we’ll position the eyes on top of the body. Crabs have two stalked eyes that stick out from the body.
- On the top of the oval, draw two small circular shapes that are spaced apart.
- From the bottom of each circle, draw a short line extending downwards to indicate the stalks that support the eyes.
- Add some small circles or dots inside the eyes to create pupils, giving them a more lifelike appearance.
Step 3: Sketch the Claws
A crab’s claws (or chelae) are one of its most distinctive features. To add these, follow these steps:
- On each side of the crab’s body, draw two larger, curved shapes extending from the sides of the oval. These will be the crab's claws.
- For each claw, draw a long, curved oval shape to represent the upper part of the claw.
- Then, draw a smaller, triangular shape near the tip of the claw to represent the sharp, pincer-like tip.
- Don’t forget to add some texture or small lines on the claws to make them look more realistic.
Step 4: Add the Legs
Crabs have eight legs, four on each side of their body. The legs are generally pointed outward from the sides of the carapace.
- Draw four long, curved lines on each side of the body, beginning at the edges of the oval. The lines should radiate outward in different directions to suggest the crab's legs spread out.
- At the end of each leg, draw small ovals or segments to represent the jointed parts of the legs. Make sure the legs look slightly bent or angular, as crabs have a unique joint structure.
Step 5: Add Details to the Body and Legs
At this point, you can start adding details to give your crab more texture and depth.
- On the body, draw some curved lines or shading to suggest the rough, segmented texture of the crab’s shell.
- Add small lines or segments on the legs to show their jointed structure.
- You can also add a small line in the center of the body to represent the crab's abdomen, which is slightly separate from the carapace.
Step 6: Refine the Drawing and Add Shading
Now that your basic crab shape is in place, go over the lines to make sure everything is proportionate and clear.
- Use your pencil to darken the outlines of the body, claws, legs, and eyes.
- Add some shading to give depth to the body and legs. Focus on areas under the claws, legs, and on the underside of the body, where shadows would naturally fall.
- If you want to add extra detail, you can also draw small ridges or patterns on the legs and claws to reflect the crab’s texture.
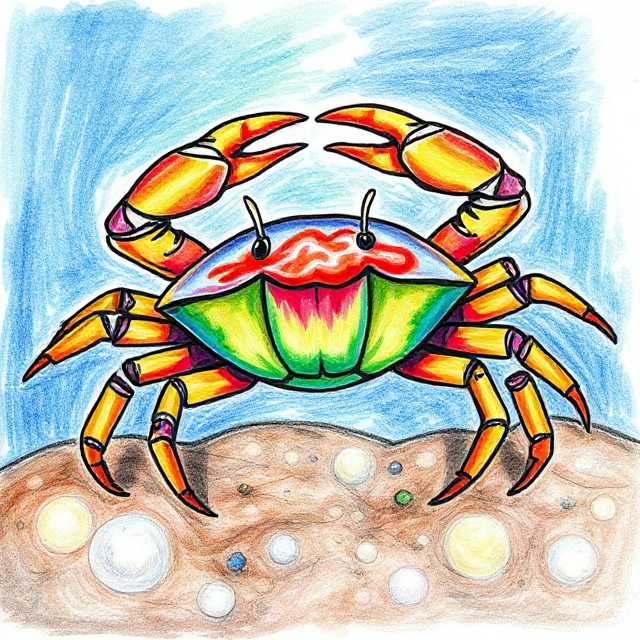
Step 7: Color the Crab (Optional)
If you want to add color to your crab sketch, here are some simple steps:
- Use red, orange, or brown for the body and claws. Many crabs have reddish-brown or orange carapaces.
- The legs are typically a lighter shade, like pale yellow or tan.
- Use shading with a darker color (like dark brown or black) to give depth to your drawing, especially around the edges of the carapace and under the legs and claws.
Final Touches
- Erase any unnecessary lines that were used as guidelines in the sketching process.
- Refine the details and shading for a clean, finished look.
- You can add a simple background like waves, sand, or other sea elements to place the crab in its natural habitat.
Conclusion
By following these steps, you've created a detailed Crab Illustration! This guide helps you focus on basic shapes and proportions while adding enough detail to make the crab realistic and expressive. Whether you're creating a simple sketch or working toward a more polished drawing, the process remains the same. Practice these steps to improve your drawing technique, and don't be afraid to experiment with different styles and colors to personalize your crab art!