Snow Queen Printable Coloring Page - Free Fun Activity
Snow Queen Printable Coloring Page features a beautifully detailed design inspired by the classic fairy tale. The page showcases the Snow Queen in her majestic icy attire, surrounded by sparkling snowflakes and a wintery landscape. Her flowing hair and regal presence are perfect for coloring with intricate patterns to engage both children and adults. The design offers plenty of space for creativity, from her frosty crown to the swirling snowflakes, ensuring hours of fun. This printable coloring page captures the enchanting essence of the Snow Queen, making it a magical addition to any winter-themed activity or craft project.
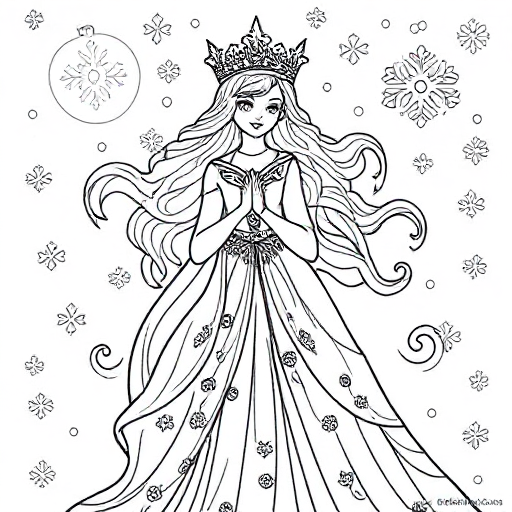
Snow Queen Printable Coloring Page: Step-by-Step
- Gather Materials: Before starting, make sure you have all your coloring supplies—crayons, colored pencils, or markers. Choose colors that evoke a magical, frosty winter feel, such as blues, whites, silvers, and pale purples.
- Start with the Background: Begin by coloring the background elements like snowflakes or ice crystals. Use light blue or soft gray for a subtle, wintry look. You can blend the colors lightly with a cotton ball or blending tool to create a soft, icy effect.
- Color the Snow Queen's Outfit: For her robe, you might want to use shades of pale blue, silver, or white. Add shadows with darker blues or purples along the folds of her clothing to give it depth. Use metallic markers or gel pens for extra shine on the icy details.
- Her Hair: The Snow Queen often has silvery or platinum blonde hair, but feel free to be creative. If you're aiming for a classic look, light gray or white pencils will give her hair a frosty sheen. Add some depth with slightly darker shades on the underside of the strands.
- Crown and Accessories: For her crown, use metallic colors like silver, gold, or a frosty white. You can add highlights with a white gel pen to give the illusion of shimmering light bouncing off the crown. The jewels on her crown can be colored in bright, sparkling hues like light blue or purple.
- Facial Features: Carefully color in her eyes, lips, and skin. Lightly shade her face with a soft, pale peach or light pink for a natural look. Use a fine-tipped pencil or pen for detailed work on her eyes and eyebrows. Make sure the shadows are subtle to maintain a delicate, ethereal look.
- Snowflakes and Icy Details: For the snowflakes and icy patterns around her, use a white crayon or gel pen over the top of your coloring to create highlights and intricate details. These accents will give the page a sparkling effect, reminiscent of winter magic.
- Final Touches: Once everything is colored, step back and review your work. You may want to add more shadows to the Snow Queen’s robe or extra highlights on her crown. Layering colors can create richer depth. Don’t be afraid to add touches of glitter (via gel pens or glitter glue) to create a sparkling, enchanted winter effect.
Tips:
- Layering colors helps to create depth and texture, especially for large areas like her robes and the snow-covered background.
- Use blending techniques with colored pencils for smooth transitions between light and dark colors.
- Take your time with the small details, like snowflakes, to ensure the design looks intricate and polished.
This step-by-step approach will give your Icy princess coloring a beautiful, magical look, capturing the frosty elegance of the character.
